

How to Identify Seed: A Practical Visual Guide
Learn how to identify seed using size, surface, attachment and pod context. Clear steps, photo angles, lookalikes, and safe next checks to confirm an ID.
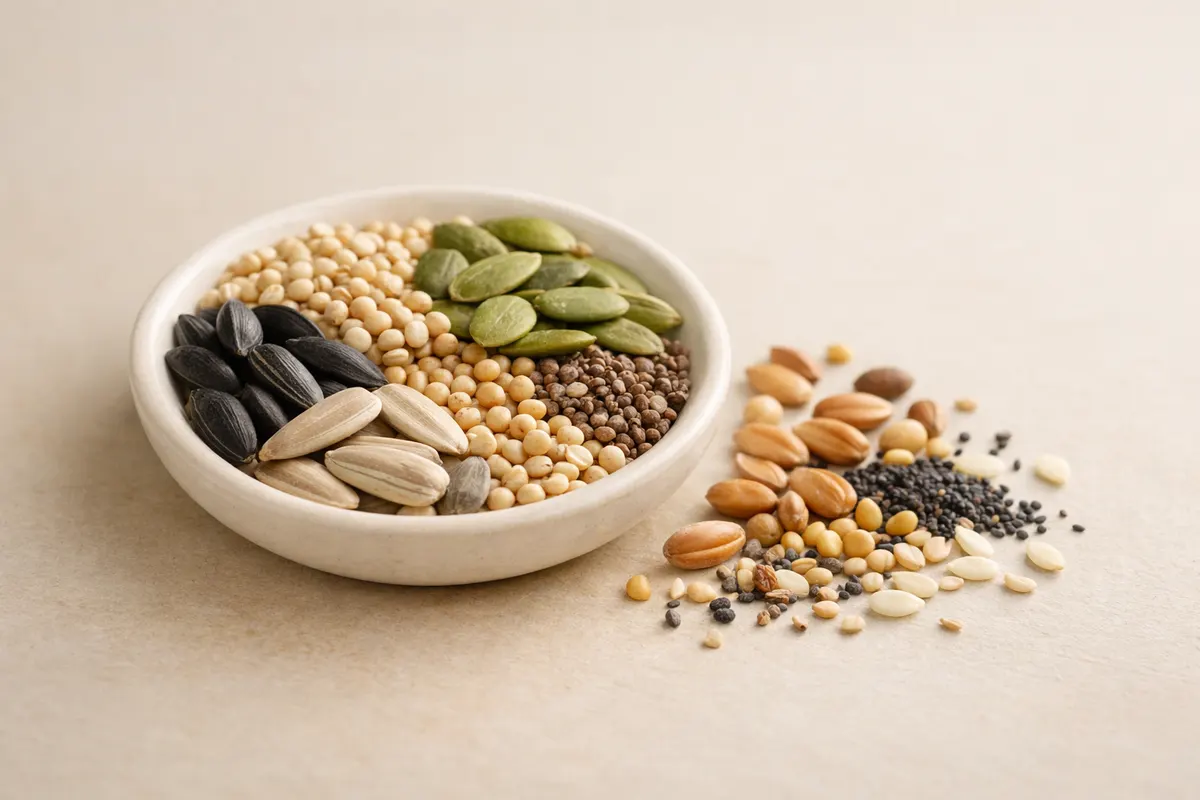
Quick answer: how to identify seed fast
To identify seed quickly, start with the basics: measure the seed, note its shape and surface texture, check any remaining pod or attachment point, and record where and when you found it. These four items—size, shape, surface, and context—do most of the heavy lifting for a reliable first-pass identification.
Photos help, but they rarely give a final answer on their own. A clear set of images from multiple angles plus one photo of the seed in context (on the plant or next to its pod) lets you compare features to reference images or a local guide more effectively. When in doubt, use these observations to narrow the possibilities, then confirm with a local extension service or a vetted identification tool.
If you want one quick rule: compare the seed to familiar categories first (winged or samara, nutlike, flattened disk, or single-grain like sunflower). That category narrows the search and directs which details matter next—e.g., wing shape for samaras, surface ridges for legumes, or a papery seed coat for certain wildflowers.
seed identification guide: what identifying a seed actually requires
Identifying a seed means assigning it to a likely species or at least to a narrow group based on observable traits. For everyday purposes that can mean naming the genus (like Acer for maples) or recognizing whether a seed is from an edible crop, a garden flower, or a common weed. The task is about reducing uncertainty enough to take the right next step—plant it, compost it, test for invasiveness, or discard it safely.
Practical identification focuses on physical characters you can observe without a lab: size (mm or relative to a coin), overall shape (round, kidney-shaped, winged), surface texture (smooth, pitted, hairy), and attachment marks (where it joined a pod or seedhead). Context—what plant or pod it came from, the time of year, and the habitat—often resolves otherwise ambiguous features.
My approach favors comparisons: match attachment points (did it come from a samara, capsule, or sunflower head?), then match surface details under a hand lens if possible. That sequence—category, attachment, surface—turns a confusing odd seed into one of a handful of likely candidates you can check against pictures or local references.
Key clues to inspect when you identify seed
Focus on a short checklist you can apply in the field. Record three measurements: length, width, and thickness (or a size comparison like “about the length of a grain of rice”). Note color, any patterning or mottling, and whether the seed is flat, plump, or winged. Photograph the seed on a neutral background and alongside a ruler or coin for scale.
Contextual clues matter: the plant or pod the seed came from is often the fastest route to identification. A single samara immediately suggests a tree like a maple; a flat, papery pod points to legumes; a clustered, teardrop-shaped seed in a sunflower head indicates a composite. Also record where you found it—lawn, field edge, roadside, or compost—because many invasive or weedy species have predictable habitats.
- Size and scale: measure the seed and photograph with a ruler.
- Shape and profile: round, kidney-shaped, teardrop, winged, or disk.
- Surface texture: smooth, ridged, wrinkled, hairy, or pitted.
- Attachment point: presence of a stalk scar, wing base, or seam.
- Seed visual clues: look for wings, beaks, arils, or papery coats that point to distinct groups.
- Pod and plant context: pods, heads, or samaras usually solve the ID faster than seed alone.
Step-by-step workflow to identify seed from a photo or in hand
Step 1 — Gather clear photos and measurements. Take sharp photos from the top, side, and an angle that shows thickness. Include at least one picture with a scale (ruler or coin) and one that shows the seed with its pod or plant if available. Note the collection date and habitat; seasonality can rule out many candidates.
Step 2 — Sort by broad category. Ask whether the seed is winged, nutlike, disk-shaped, or a single-grain. That initial category narrows which traits are diagnostic. For example, if it’s winged look closely at wing shape and vein pattern; for nutlike seeds check for a smooth, hard coat and any seam where the two halves meet.
Step 3 — Compare to references and lookalikes. Use field guides, herbarium images, or site resources such as Seed Pod Identification by Photo: Types, Examples, and Clues to match both seed and pod traits. Pay attention to common lookalikes in your region—seeds of native species often mimic common weeds or crops, and invasive species can resemble harmless locals.
Step 4 — Evaluate uncertainty and next checks. Decide if you have a high-confidence match (distinctive wing, unique surface texture) or only a candidate list. For moderate confidence, cross-check with a regional extension, local naturalist group, or the site’s photo-ID pages: https://seedidentification.app/identify/what-seed-is-this and the home page https://seedidentification.app/.
Step 5 — Preserve a sample safely and label it. If you need a professional confirm, keep the seed in a small paper envelope with location, date, and notes. That small archive makes it easier for an expert or lab to verify your ID later without destroying the specimen.
Examples: common seeds and what to look for
Winged tree seeds — maple samaras and similar wings are often unmistakable. A single samara with a laterally attached wing and a familiar tree silhouette points to a maple (Acer). Note wing length and curvature: some maples have broad, round wings while others have narrow, elongated ones. Photograph the attached samara on the branch or ground to capture the most telling detail.
Sunflower and composite seeds — seeds clustered in a seedhead (sunflowers, coneflowers) are typically flattened or teardrop-shaped and will show a clear pattern if several are still in the head. If you find a solitary seed from that head, look for the tapered tip and the thin, smooth coat typical of sunflowers.
Legume pods and pea-like seeds — many garden and wild legumes split along a seam leaving smooth, often round or oblong seeds with a hilum (attachment scar). If you found a seed inside a papery pod, compare the pod length and whether it dehisced (split open) along one or two seams.
Small weed seeds — many weeds (ragweed, plantain, dock) produce numerous tiny seeds that are easy to confuse. For these, surface texture under a hand lens and the surrounding seedhead structure are decisive. Document the seedhead and nearby leaves when possible; the plant’s leaves often give the fastest clue to species.
Limitations
A photo-based identification is often good enough to narrow possibilities, but it can’t reliably confirm edibility, toxicity, or legal status (protected vs invasive) in every case. Surface wear, aging, or damage from animals can obscure key features. Some genera include species with near-identical seeds that require microscopic features or DNA testing to separate.
Regional overlap and lookalikes increase uncertainty. For example, several invasive species have seeds that closely resemble native plants at a casual glance. If the identification affects safety—planning to eat, plant, or sell the seed—seek verification from a local extension office, a university herbarium, or an experienced botanist before you proceed.
Use identifications as actionable categories rather than absolute diagnoses. Treat a photo-based match as a working hypothesis: it’s enough to decide whether to compost, quarantine, or examine further, but not enough for definitive claims. Tools and apps can help with a first pass, but they should be one part of a verification chain that includes physical inspection and, when needed, expert confirmation.
Related guides
Try a first-pass identification and confirm the result
After you’ve checked size, surface, attachment, and pod context, use the site’s photo-ID resources as a next step: try the guide at https://seedidentification.app/identify/what-seed-is-this or explore related pages like Seed Pod Identification by Photo: Types, Examples, and Clues. These tools are helpful as a first pass, but don’t replace expert confirmation when safety or legal concerns apply. If you need a verified ID, preserve a labeled sample and contact your local extension or a herbarium for confirmation.
Take the next step →Frequently asked questions
What seed types might this small brown seed belong to when I find it in my yard?
Small brown seeds found in lawns or flowerbeds commonly fall into a few practical categories: grass or weed seeds (tiny, grain-like), legume seeds (rounded with a noticeable hilum), or composite seeds from plants like plantain or dock (often elongated and slightly flattened). To narrow the list, photograph the seed with a scale, note whether it came from a head, pod, or directly from the soil surface, and check nearby plants. If the seed came from a visible seedhead or pod, that attachment is the fastest route to a reliable classification.
How accurate is identifying a seed from a single photo and what should I expect?
A single high-quality photo can often produce a useful shortlist of candidates, especially when the seed has distinctive features like wings, a thick nut coat, or patterned surfaces. However, accuracy drops when photos lack scale, show only one angle, or the seed is worn or fragmented. Expect a photograph to support a tentative ID in many cases, but not a 100% reliable species confirmation. Use the photo to guide further checks—compare multiple images, inspect the plant or pod, and consult local experts when stakes are high (edibility, invasiveness, or sale).
Can I rely on visual clues alone to separate lookalike seeds in my region?
Visual clues—shape, size, surface texture, and attachment—are powerful and often sufficient to separate many lookalike seeds, but they have limits. Closely related species can share nearly identical seed morphology; distinguishing them may require pod anatomy, fruiting structures, or even microscopic characters. For regional certainty, cross-reference local floras or university extension resources and keep a labeled sample for a specialist to examine if needed.
When should I get professional help to confirm a seed ID?
Seek professional verification when the identification affects safety, legal status, or business decisions—if you suspect an invasive species, plan to consume the seed, intend to sell seed stock, or need a formal record for conservation. Local extension services, university herbaria, or certified seed labs can examine specimens and provide authoritative confirmation. For routine curiosity or gardening, an app or guided photo-ID process is a reasonable first pass, but treat it as provisional unless confirmed by an expert.